
Git sync
What is Git Sync?
It is the easiest way to build and edit beautiful, visual docs that live in your repo. It is currently only available on GitHub repos (and not GitLab repos).
Use cases
- Add beautiful diagrams and visualizations to your README files.
- Use Eraser to collaboratively write RFCs, PRDs, and READMEs and save to GitHub.
- Use Eraser as a web-based markdown editor for all of your .md files in your repo.
- Provide a web interface for non-technical users to access engineering docs saved on GitHub.
Features
- Pull all .md files from a GitHub repository into Eraser
- Embed diagrams drawn on Eraser as images into .md files
- Push changes made to .md files on Eraser to your GitHub repository
- Specify a specific branch (e.g.
main,dev,feature) to commit and push to
Git sync quickstart
- Connect your GitHub repository to Eraser.
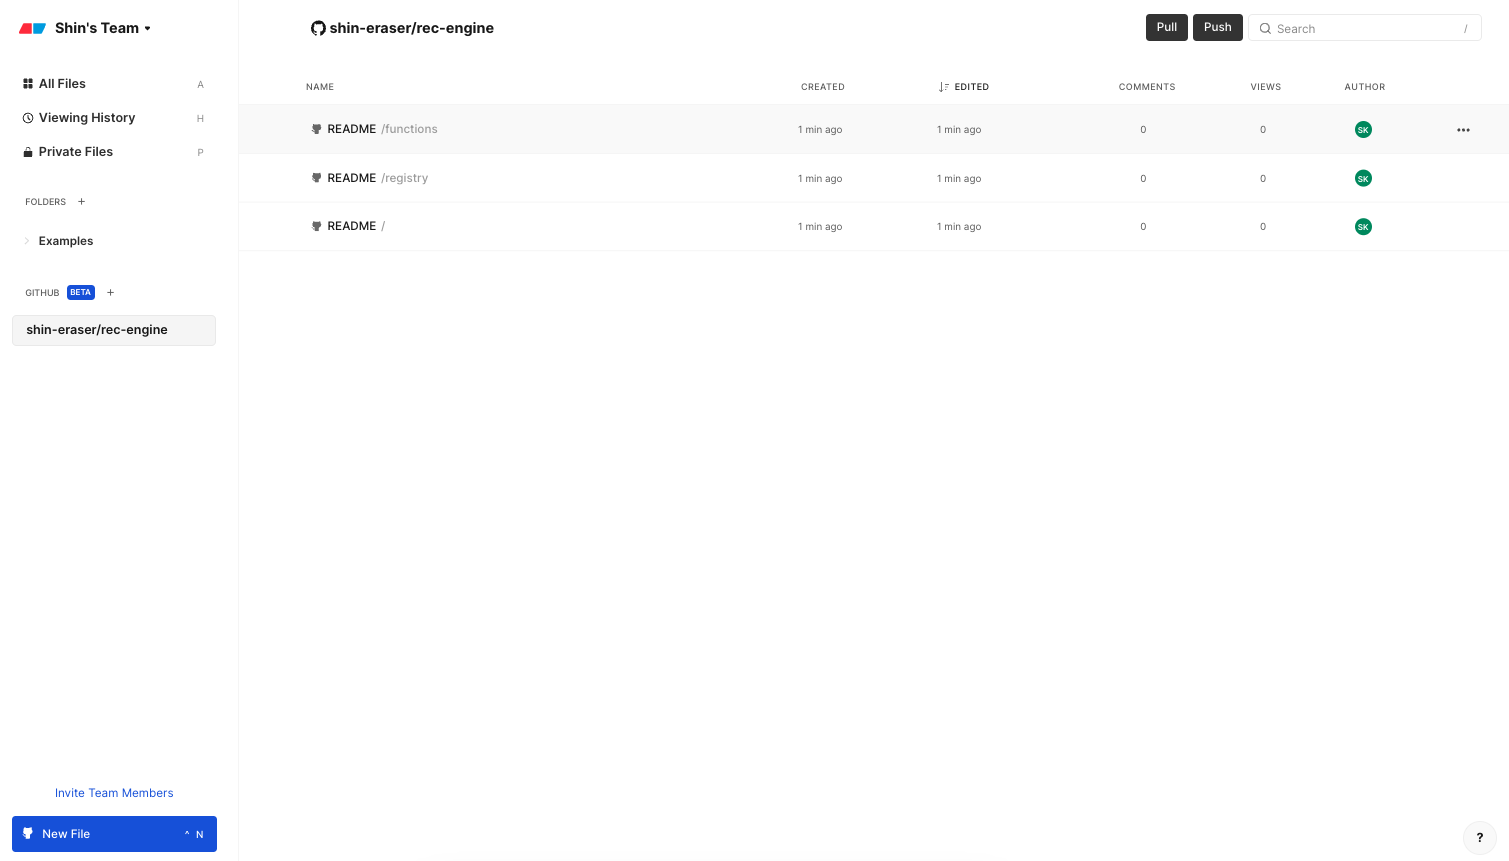
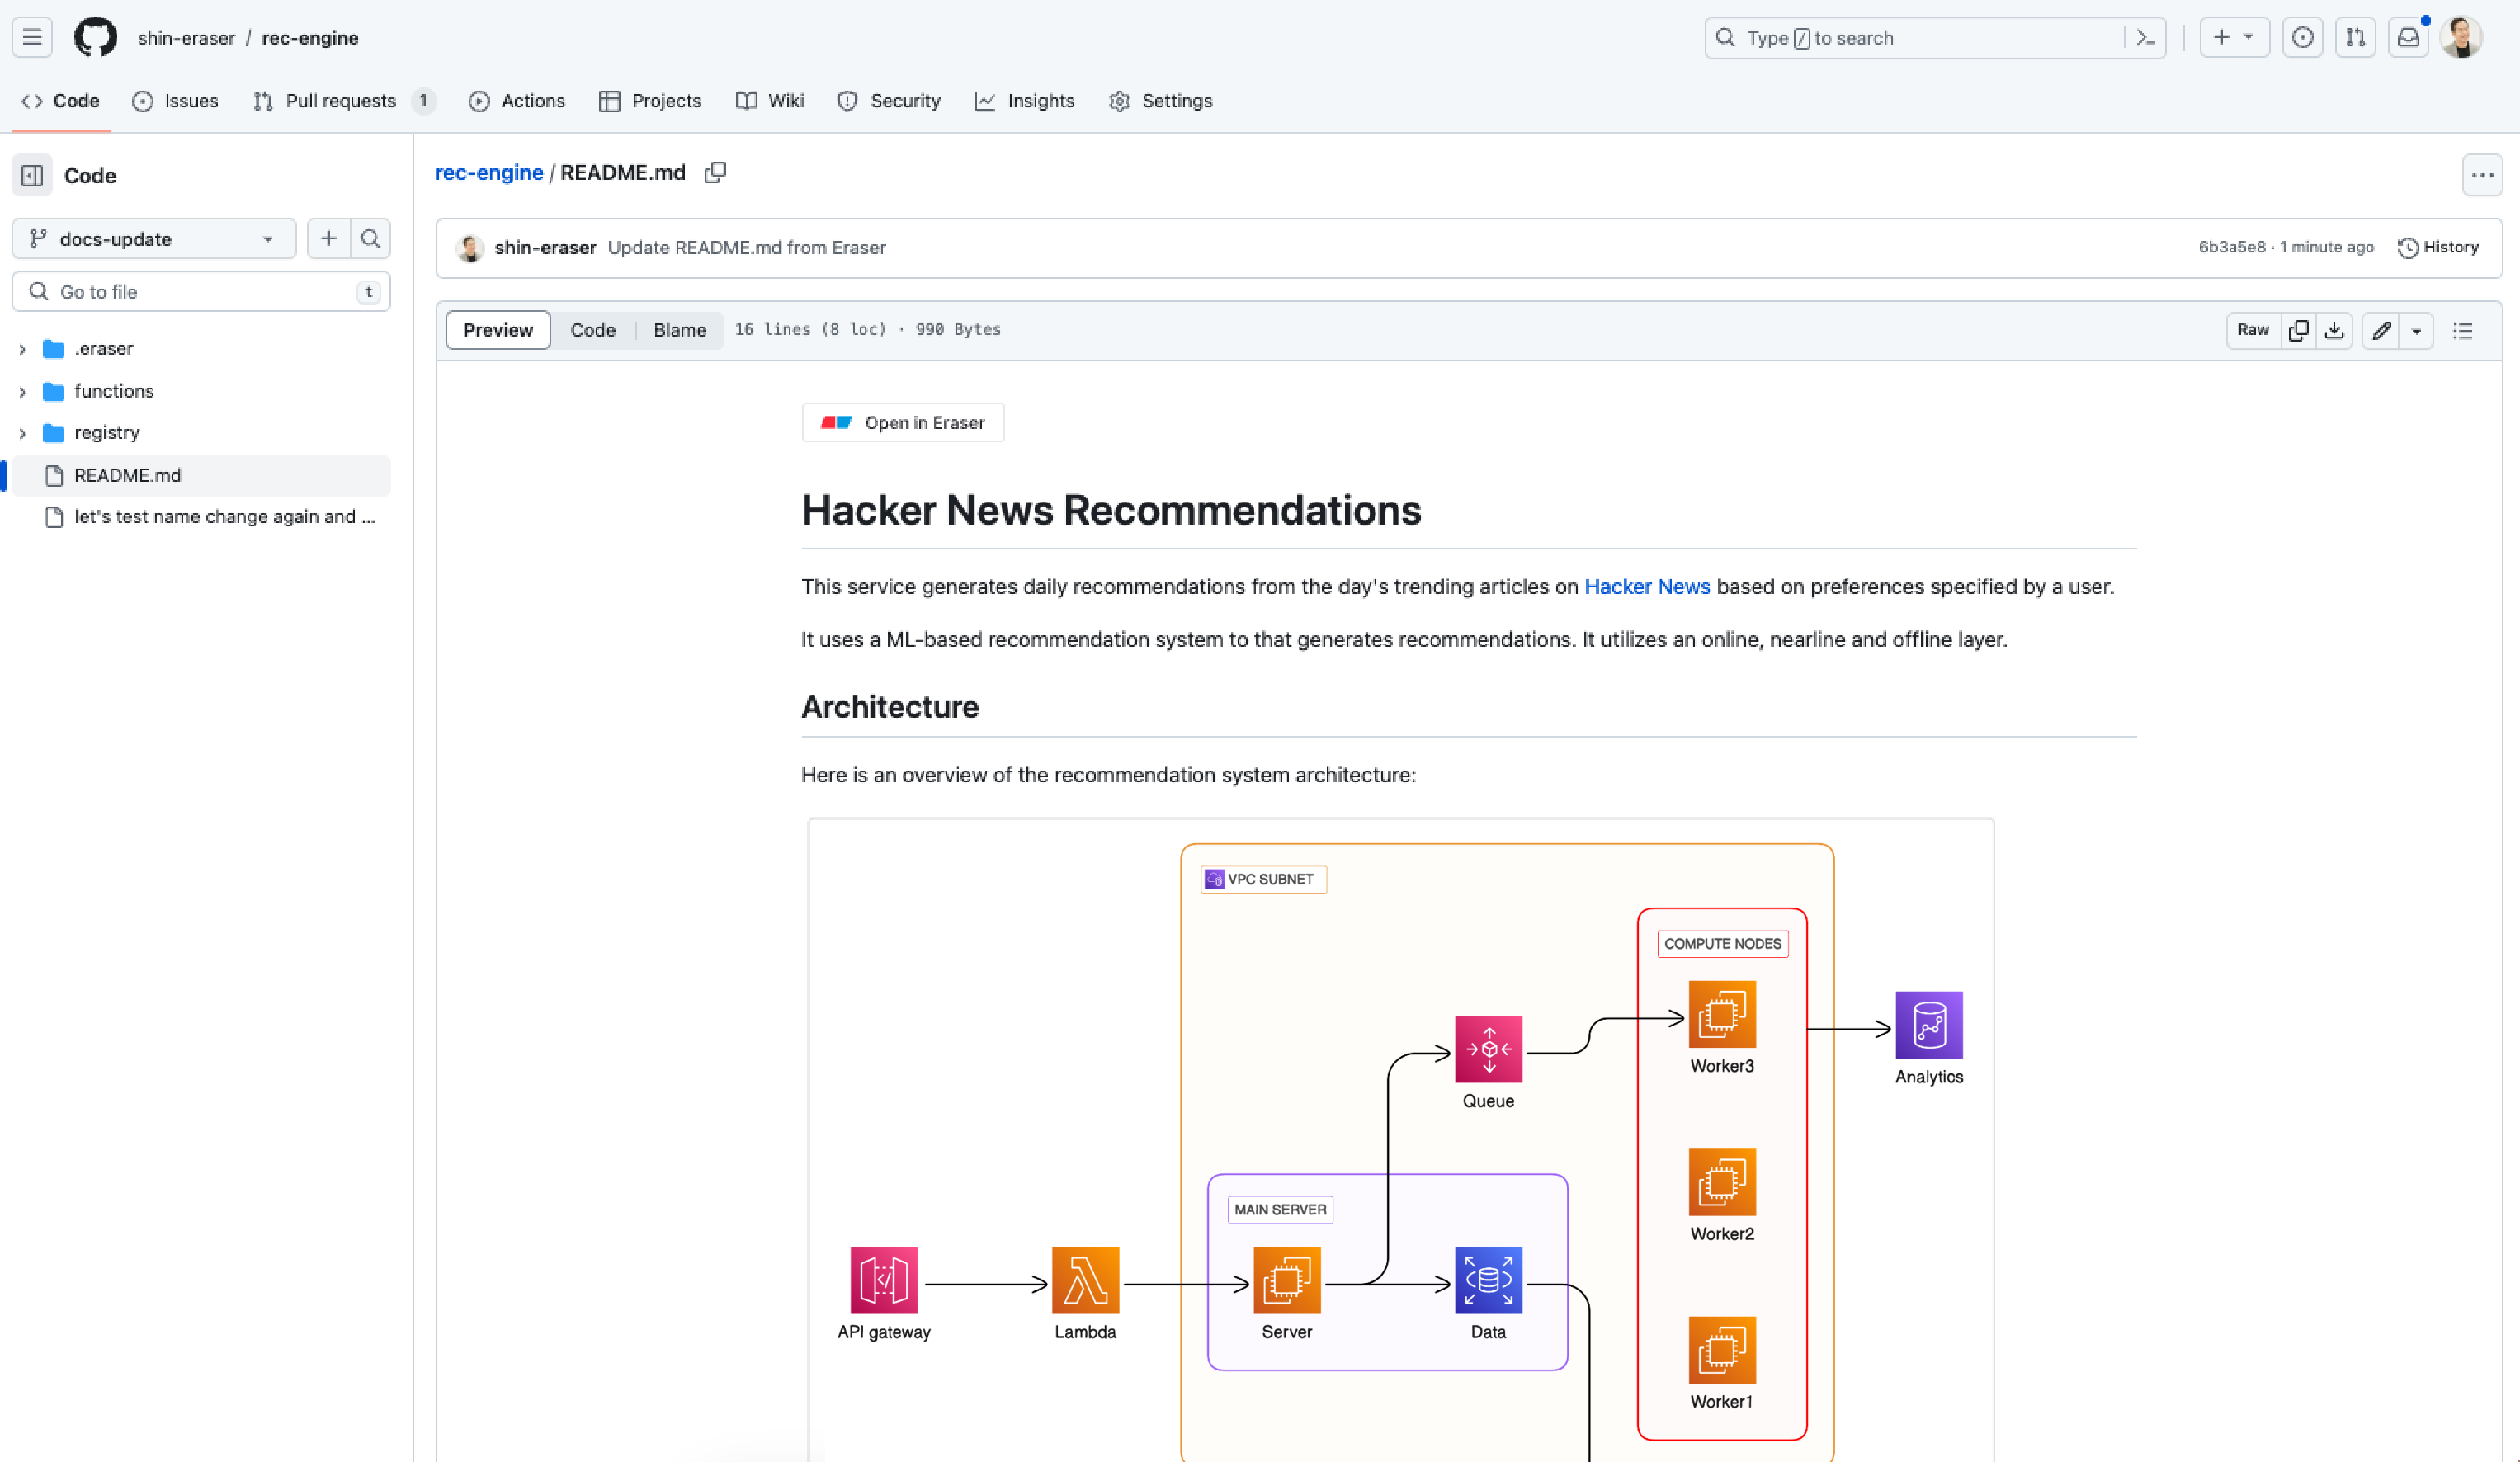
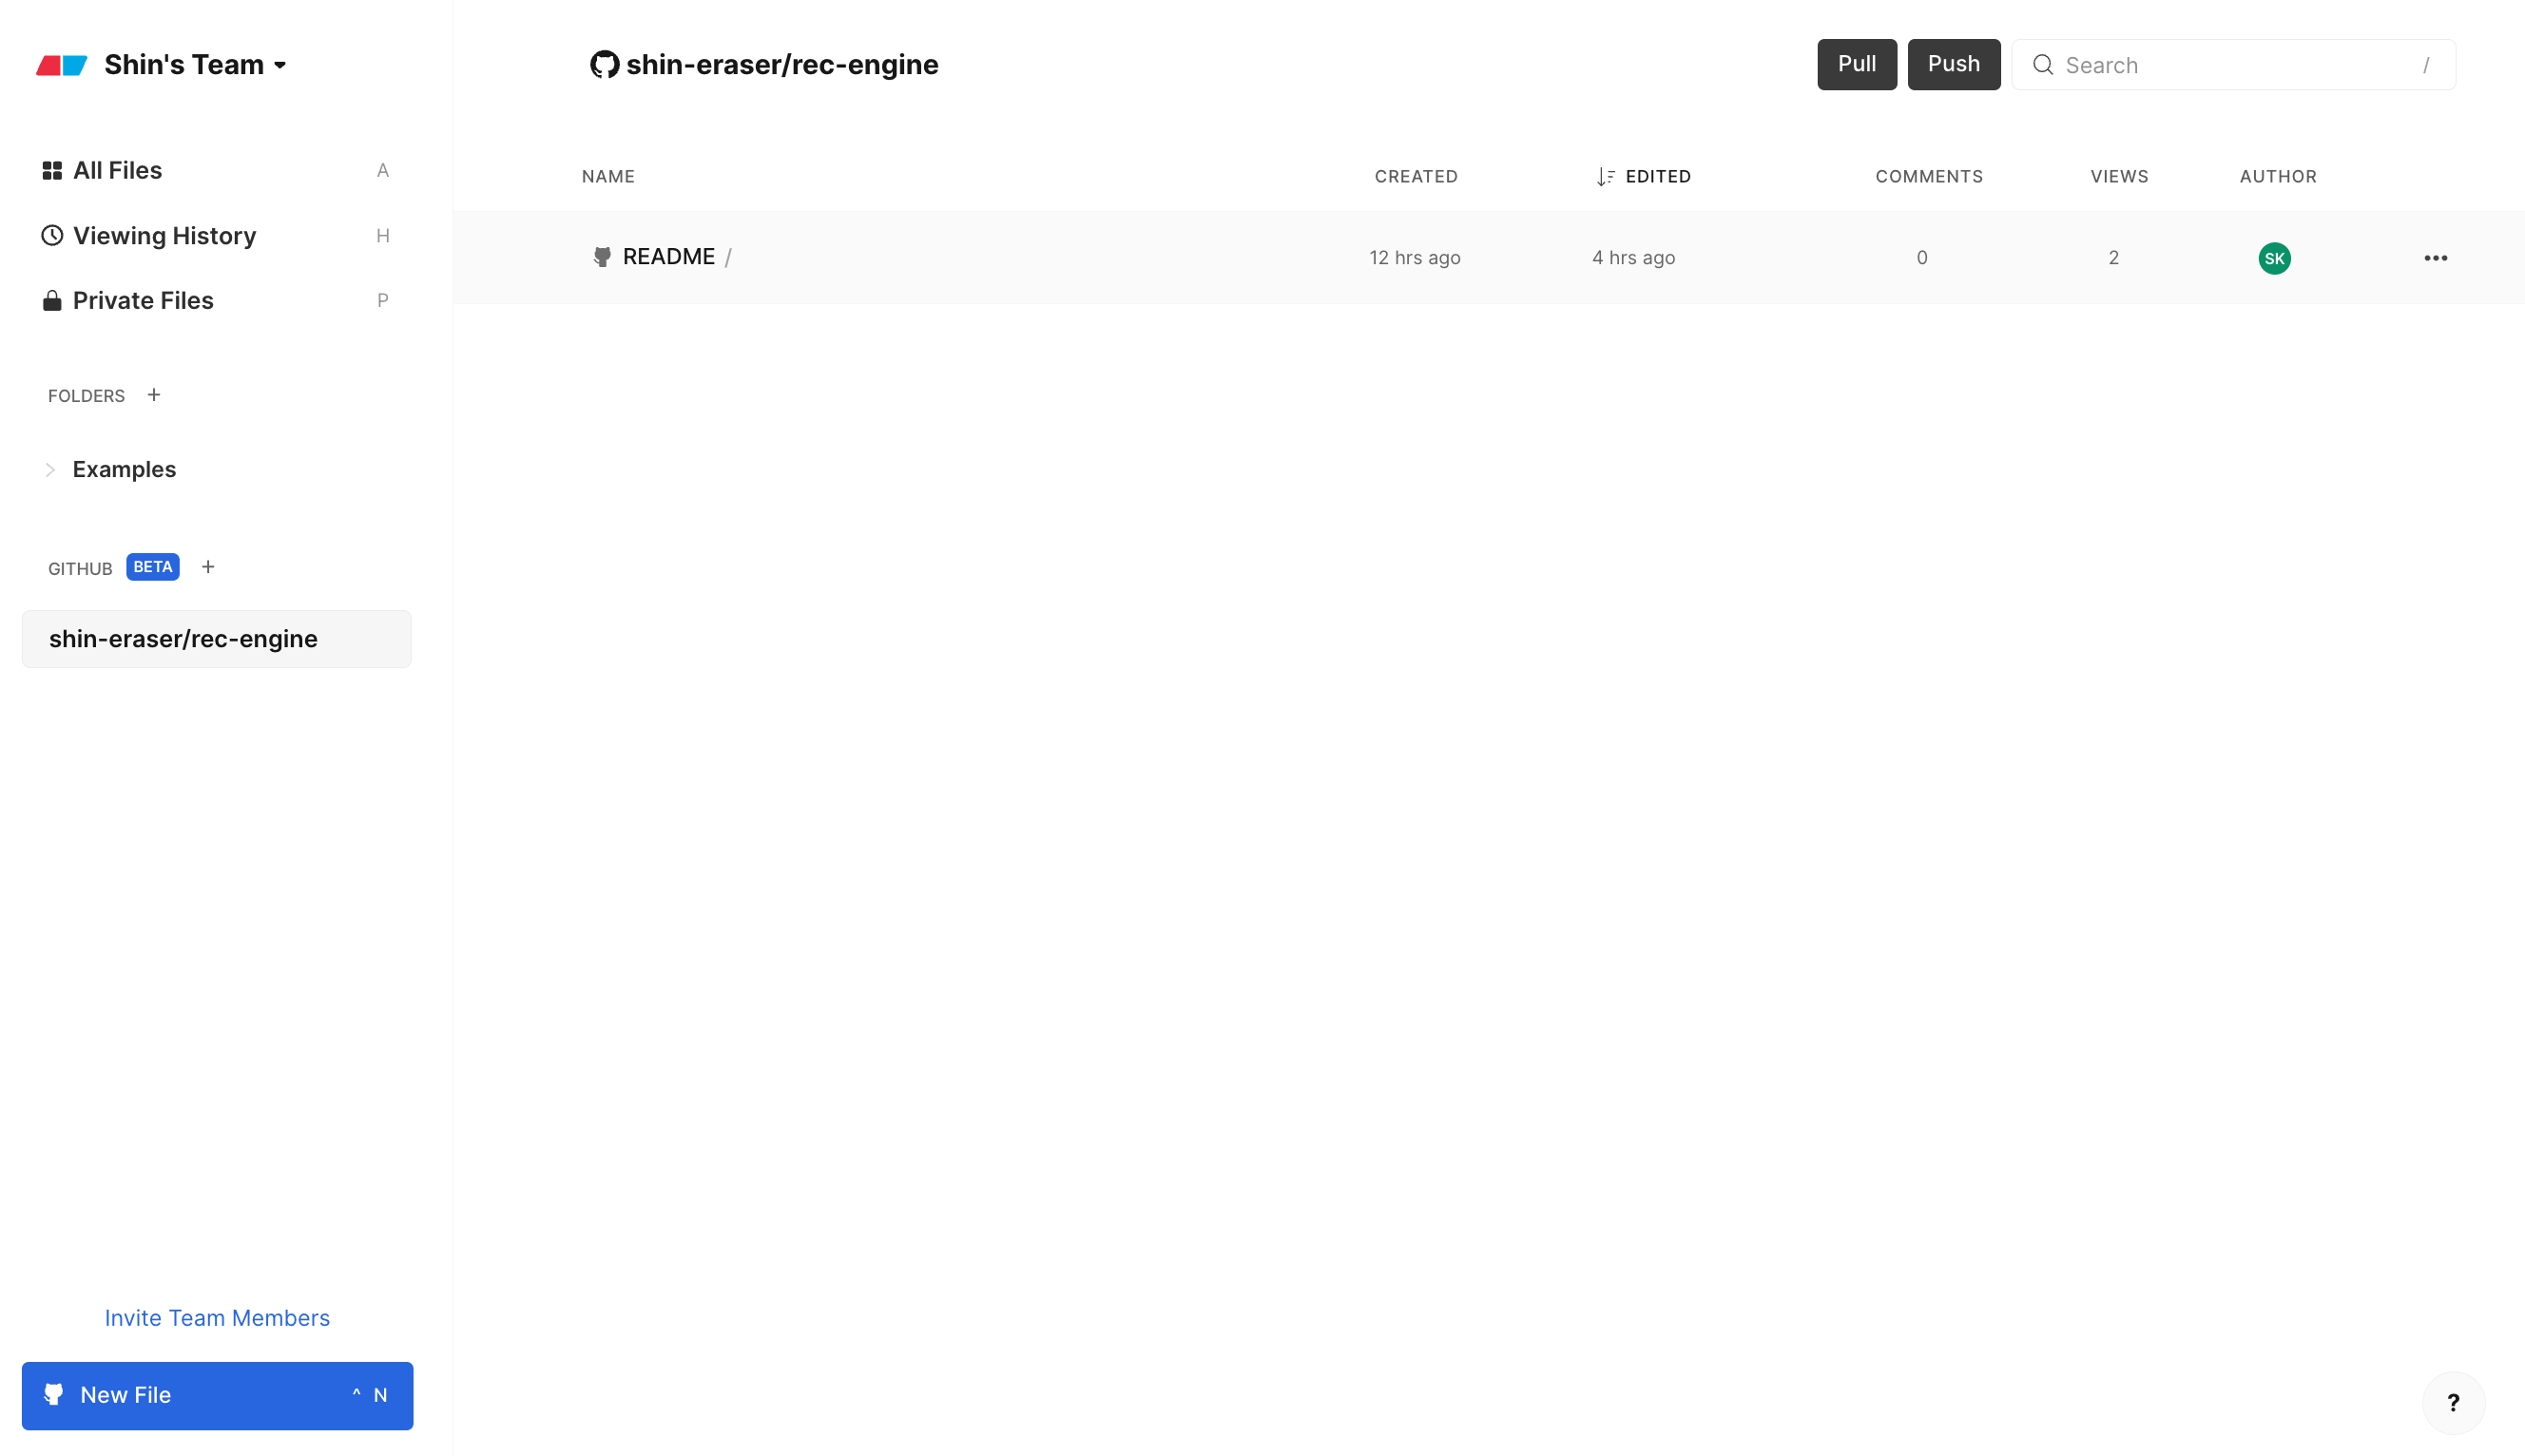
- On the Dashboard, you will now notice that the repository has been added to the sidebar (
shin-eraser/rec-enginein the below example). Clicking on the repo, you'll see all the .md files have been pulled. .md files are pulled from themain(default) branch. This can take a few minutes depending on the number of files.
- Open one of the files and make some changes.

- Select "Push" in order to push your changes to GitHub.
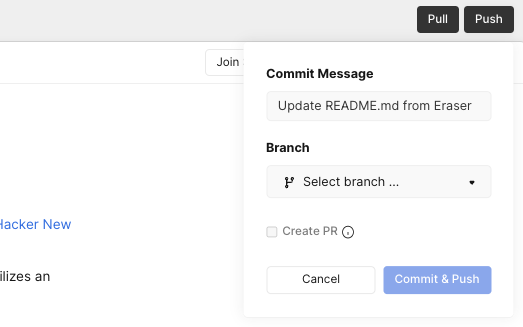
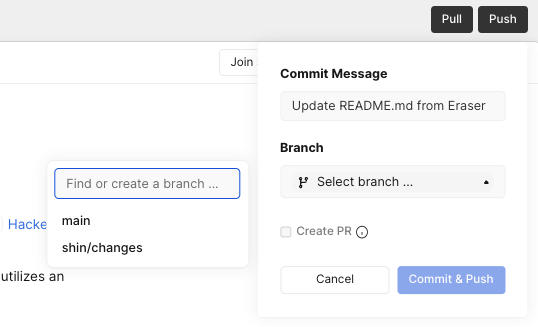
- Select a branch to push to, or create a new branch. Change commit message as necessary and select "Commit & Push".
- Once pushing is complete, select "Open in GitHub" to confirm that your commit was pushed to GitHub.
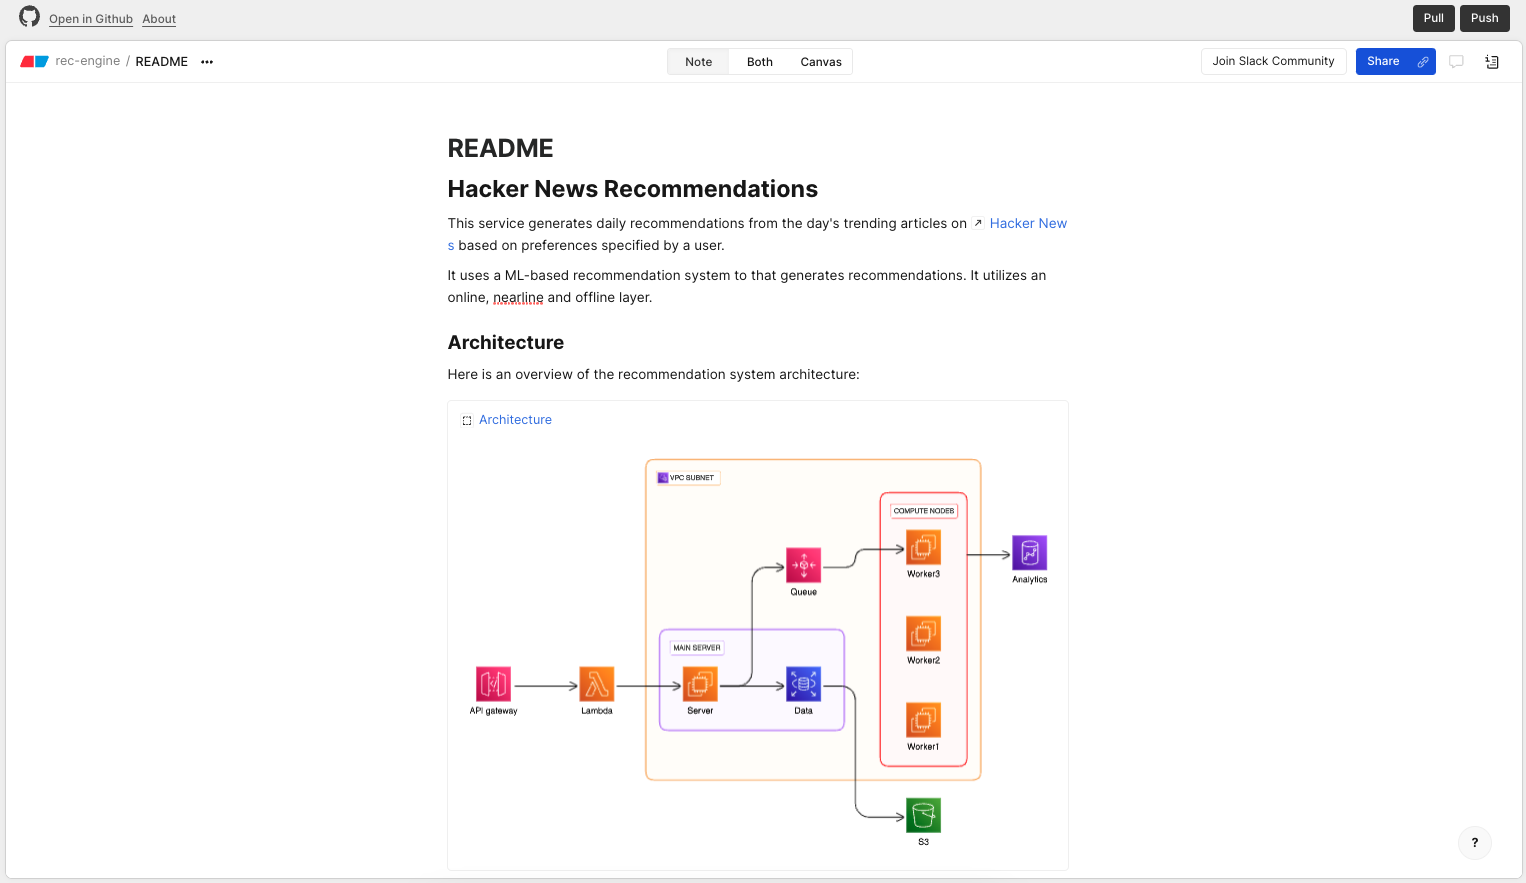
- By default, you will land on the
main(or your default branch). Make sure to switch to the branch that you committed to to confirm that your changes have been reflected.
Pushing to GitHub
After making edits to your .md file in Eraser, you can commit and push the changes to GitHub. You can specify the branch, add a commit message, and even create a PR from Eraser.
There are two ways to commit and push to GitHub from Eraser:
- Single file push
- Push changes in a specific .md file
- Trigger by clicking on "Push" in the file that you'd like to push
- Batch push
- Push changes across ALL .md files in a repo
- Trigger by clicking on "Push" in the repository folder on the dashboard
The below user flows are based on single file push. The same flows apply to batch push.
How to push to GitHub
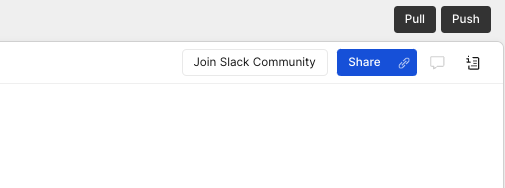
- Click "Push" in the upper right.

- (Optional) Update the placeholder commit message.
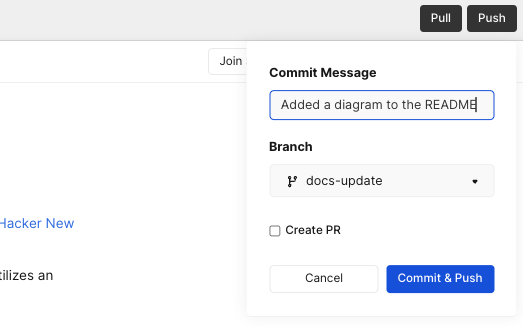
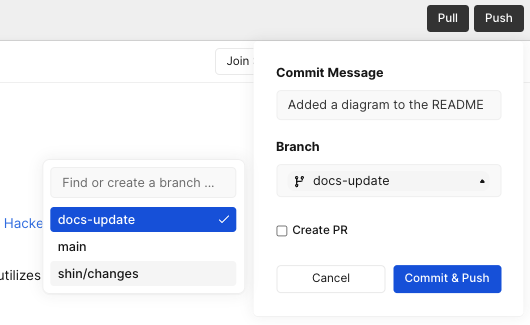
- Select an existing branch from the branch selector. Note that pushing to the
main(default) may not be allowed if branch protection is turned on. You can also create a new branch and push to it.
- Click "Commit & Push".
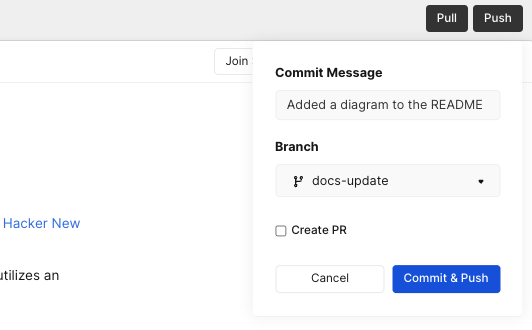
Creating a PR
(Optional) When you commit and push your changes to a target branch, you can also create a PR to merge the branch into the main branch.
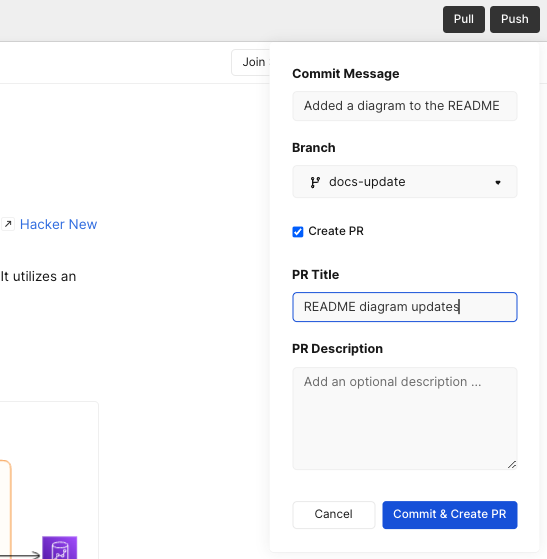
- In the "Push" modal, check the "Create PR" box.
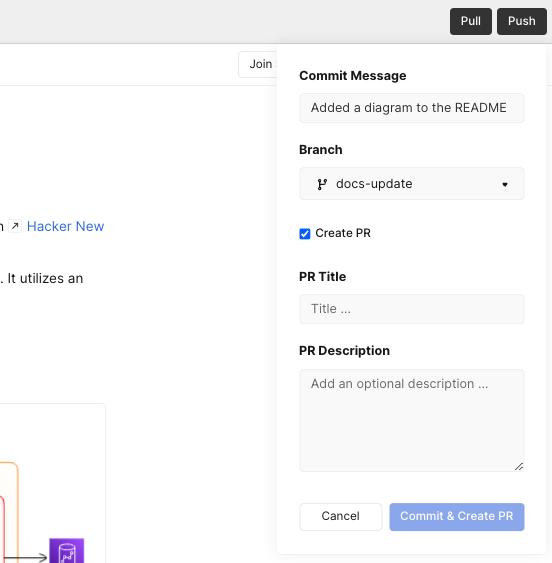
- Add a PR Title (required) and PR Description (optional). Click "Commit and Create PR".
Common reasons for PR creation failure:
- There is already an outstanding PR from the same branch. You must delete the existing PR in order to create a new PR.
- Your are committing and pushing directly to the
main(default) branch. You cannot create a PR from themainbranch into themainbranch.
Pulling from GitHub
You should pull from GitHub whenever there are upstream changes that were made outside of Eraser that you'd like to pull in.
There are two important facts regarding pulling:
- Pulling is always and only from the
mainbranch - Pulling will simply overwrite the Eraser file with what is in the
mainbranch. There is no way to resolve merge conflicts.
And similar to pushing, there are two ways to pull from GitHub:
- Single file pull
- Pull changes from a specific .md file
- Trigger by clicking on "Pull" in the file that you'd like to pull
- Batch pull
- Pull changes across all .md files in a repo
- Trigger by clicking on "Pull" in the repository folder on the dashboard
How to pull from GitHub
The below user flow is based on single file pull. The same flows apply to batch pull:
- Click "Pull"
- Click "Confirm". Pulling from GitHub will overwrite any existing note content in the file (canvas content is not impacted).
Creating a new file
You are not limited to working only with .md files that are pulled from GitHub. It is possible to create a new file in Eraser, then commit and push to GitHub as a .md file.
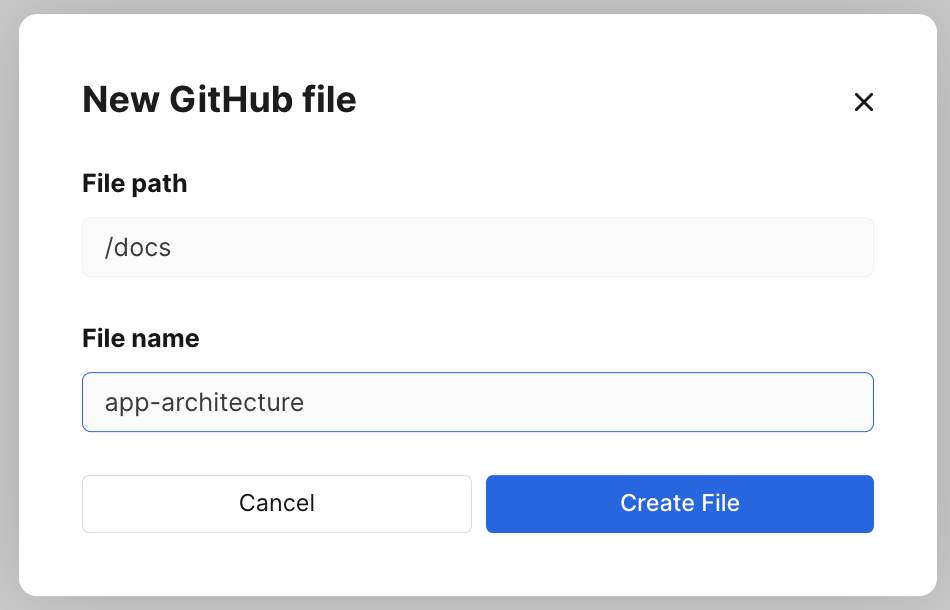
- On the dashboard, navigate to the GitHub repository folder that you're working with. Press the "New File" button on the lower left.
- Provide a file path and file name. The file path is relative to the root of your repository and must start with
/. Adding.mdto your file name is optional, the file will be saved as a.mdfile regardless. Click "Create File".
- Once the new file is created and you are ready to commit and push to GitHub, press "Push" and complete the Pushing to GitHub flow to finalize.
Frequently asked questions
What is the GitHub sync for?
GitHub sync is perfect if you'd like to create, edit, and manage your markdown docs stored in GitHub using Eraser. Here are reasons why you may want to do this:
- Add beautiful Eraser diagrams to your docs
- Access and edit markdown files using a web-based WYSIWYG editor
- Use Eraser's real-time collaboration and commenting features
- Offer non-technical users a friendly web interface to interact with technical docs
Start with Getting Started if you are new to Eraser.
Can I specify a branch to push to?
Yes, you can specify any specific branch to push to, including the main (default) branch if branch protection is not turned on. Learn more about Pushing to GitHub.
Can I specify a branch to pull from?
No. Currently you can only pull from the main branch. Learn more about Pulling from GitHub.
How are diagrams represented in the markdown file? Where are they stored?
When markdown files are saved to GitHub, diagrams drawn in Eraser will be embedded as PNG images. The images are stored on your GitHub repo, under a root-level folder called /.eraser.
If you use diagram-as-code to create a diagram and embed it into the notes, the DSL syntax will not be saved to GitHub since the diagram is simply uploaded as an PNG file.
Can I create a PR from Eraser?
Yes. When you push to a branch, you can optionally also create a PR. Learn more about Pushing to GitHub.
Can I create a new file in GitHub from Eraser?
Yes. When you create a file from inside a GitHub repo folder, you will be asked to specify a file name and file path. Once that file is committed and pushed either via single file push or batch push, the new file will also exist on GitHub. Learn more about Creating a new file.
Can I resolve merge conflicts?
No, there is currently no way to resolve merge conflicts in Eraser. Pulling will simply overwrite your content in the note editor with what is on the main branch.
Updated 6 months ago