
Tables
Creating a table
There are 2 ways to create a table in Eraser:
1. Using the insert menu
On the bottom formatting bar, click on insert (the "+" button), then select Table.

2. Using the keyboard shortcut
Press Cmd+Opt+Tin Mac or Ctrl+Alt+T in Windows.
Adding rows or columns
There are 3 ways to add a row or column:
1. Using the "+" button
When you hover your mouse over the left end of the table, a "+" button will appear to add a row. You can similarly hover over the top end of the table to add a column.

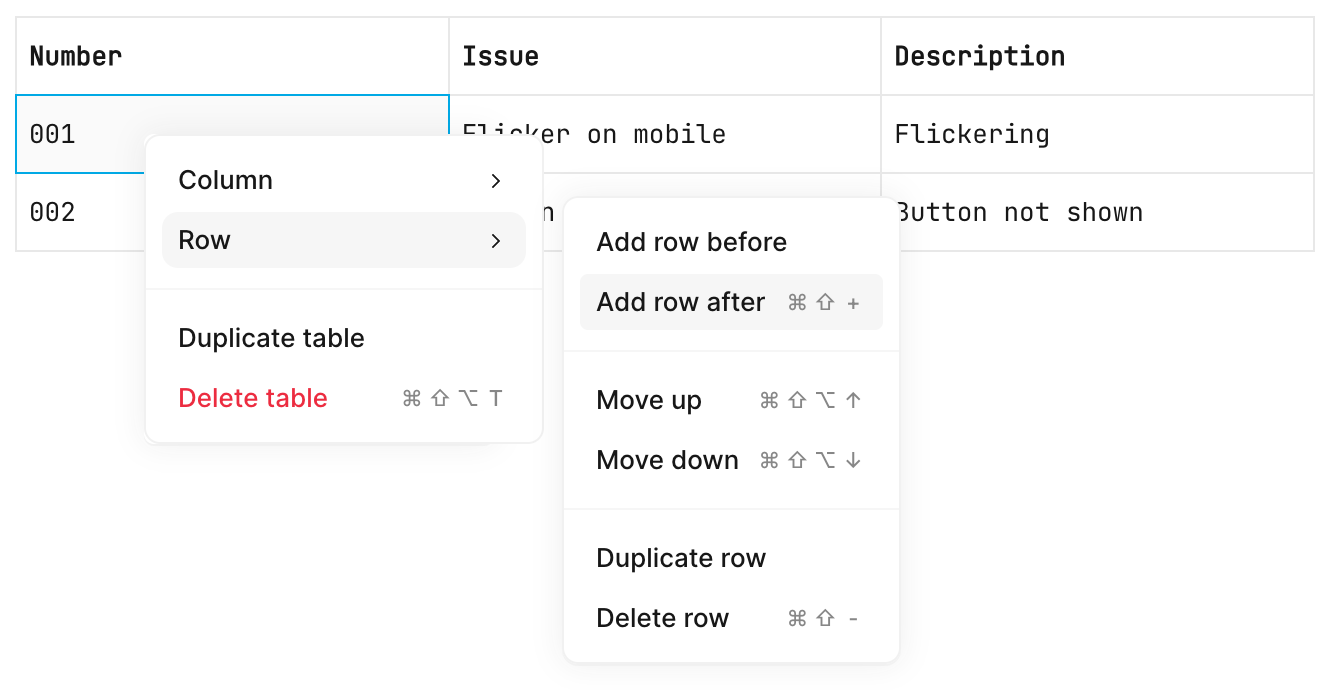
2. Using the right-click menu
Right-click on a cell to open menu, then select "Row", then "Add a row after/before".
3. Using the keyboard shortcut
Press Cmd + Shift + + on Mac or Ctrl + Shift + + or Windows to add a row after the current cursor position.
Press Cmd + Shift + Option + + on Mac or Ctrl + Shift + Alt + + on Windows to add a column after the current cursor position.
Updated 8 months ago
Did this page help you?