Eraser in virtual offices
Getting started
Eraser is offered as the default whiteboard option in many popular virtual offices like Gather, Kumospace, Work Adventure, and MetaLife. Here are some basic things do know about using Eraser in virtual offices.
Creating an Eraser file
There are two ways to create Eraser files:
- Created in the virtual office (simple)
- You can generally create from directly within virtual offices as part of "map building".
- These files lack certain share settings (e.g. email invite, read-only) and features (e.g. comments)
- Refer to your virtual office's documentation on how to create Eraser files from their platform. For example:
- Created inEraser (advanced)
- You can create Eraser files from Eraser after creating an account
- Depending on the virtual office, you may be able to swap out the URL of your virtual-office-created whiteboard with an Eraser-created one
- These files will have the full feature set of Eraser enabled, such as:
- Email invites
- Read-only files
- Folder organization
- Comments
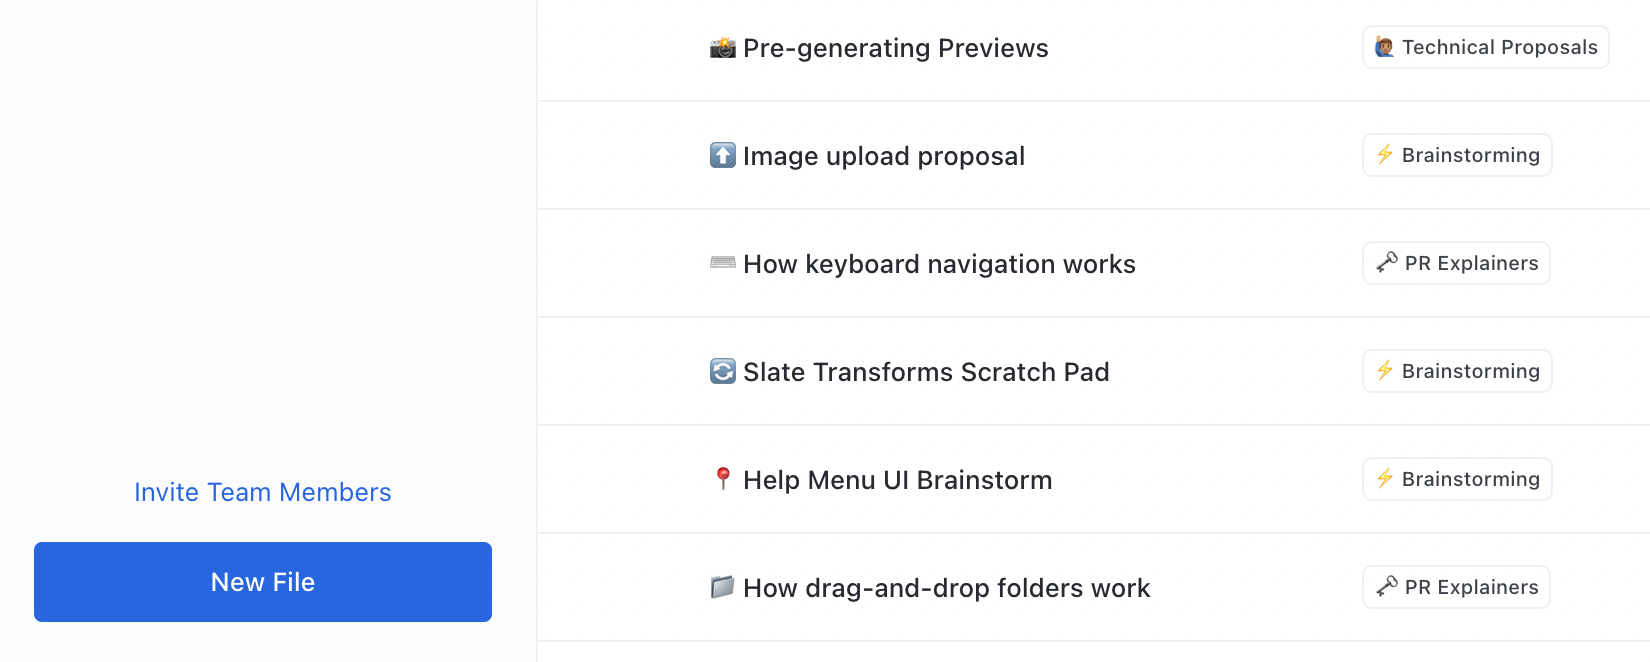
- You can create files by clicking "New File" in the Eraser dashboard
Returning to an Eraser file
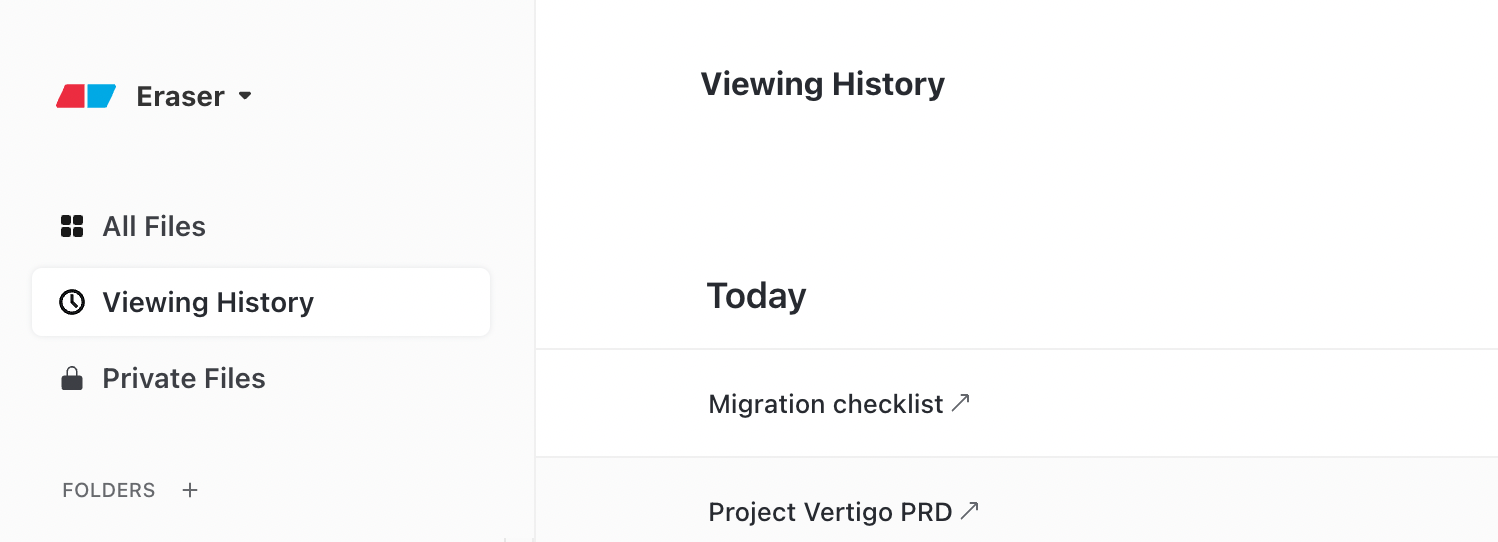
In a virtual office, you may sometimes lose track of which whiteboard was placed where. Worry not, as long as you are logged in, Eraser will keep track of all the Eraser files you've viewed.
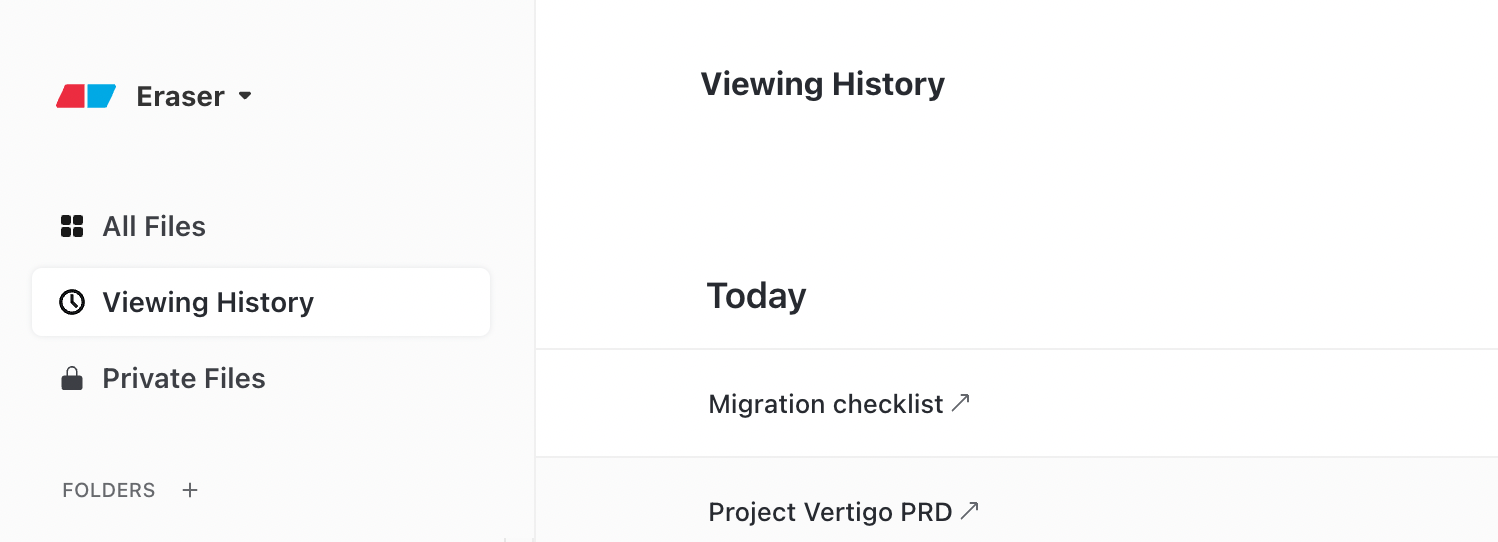
On the Eraser dashboard, click on "Viewing History" to see viewed files in reverse chronological order.
Sharing an Eraser file
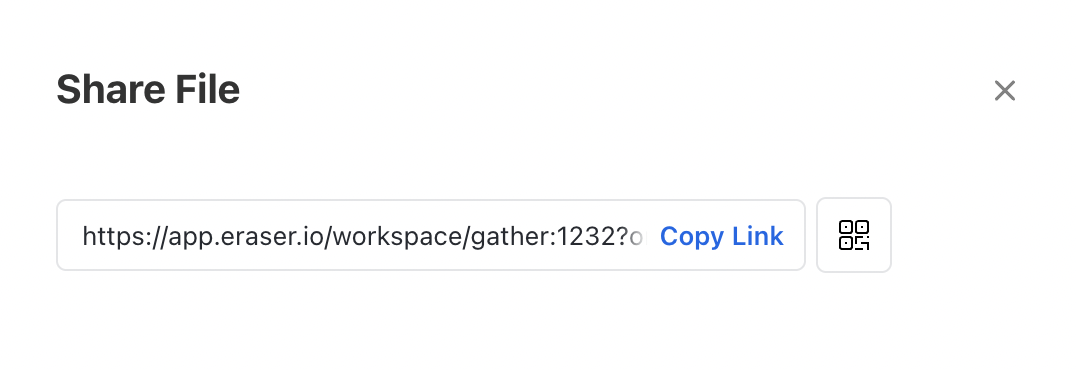
You may want to copy the link to an Eraser whiteboard in a virtual office for future reference or to share with colleagues.
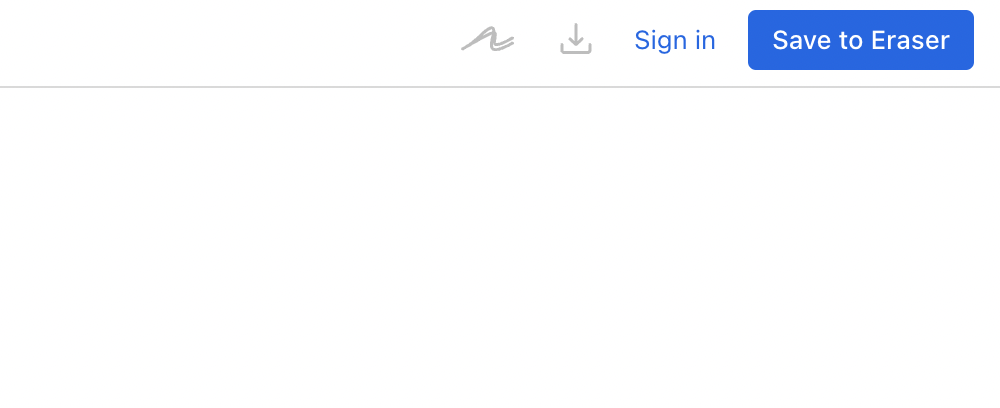
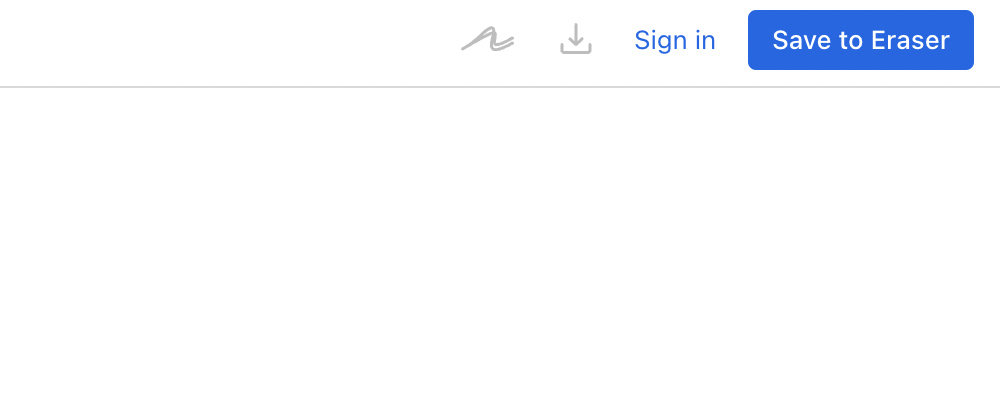
- Click on "Save to Eraser" to create an Eraser account (or "Sign In" if you already have one)
- Click on "Share" in the upper right, then "Copy Link"

Frequently asked questions
What is Eraser?
Eraser is a whiteboard for remote teams.
Should I create an Eraser account?
You should create an Eraser account if you want to:
- Display your own name on your collaborator cursor
- Create a team on Eraser and invite others
- Organize Eraser files using folders
- Adjust access settings of a file (e.g. invite by email, read-only)
- Leave comments
You can sign up by clicking on "Save to Eraser" inside an Eraser file:
I can't find the whiteboard that I previously accessed in a virtual office
If you have been signed into your Eraser account, you can browse your "Viewing History":
- Go to the Dashboard page
- Click on "Viewing History"
Can I bring an existing Eraser file into virtual office?
Yes, depending on your virtual office. Some virtual offices (like Gather) will allow you to change the URL of the whiteboard. If that is the case, simply paste the URL of the Eraser file that you would like to show into the whiteboard URL field.
Refer to your virtual office's documentation for more information.
Updated 3 months ago